Implementation Guide
Control AI Coding Agents From Your Phone With MConnect
July 11, 2026•15 min read
#MConnect#AI Agents#Mobile#Local-first#Cloudflare
Arya Teja Rudraraju
Agentic Systems Founder
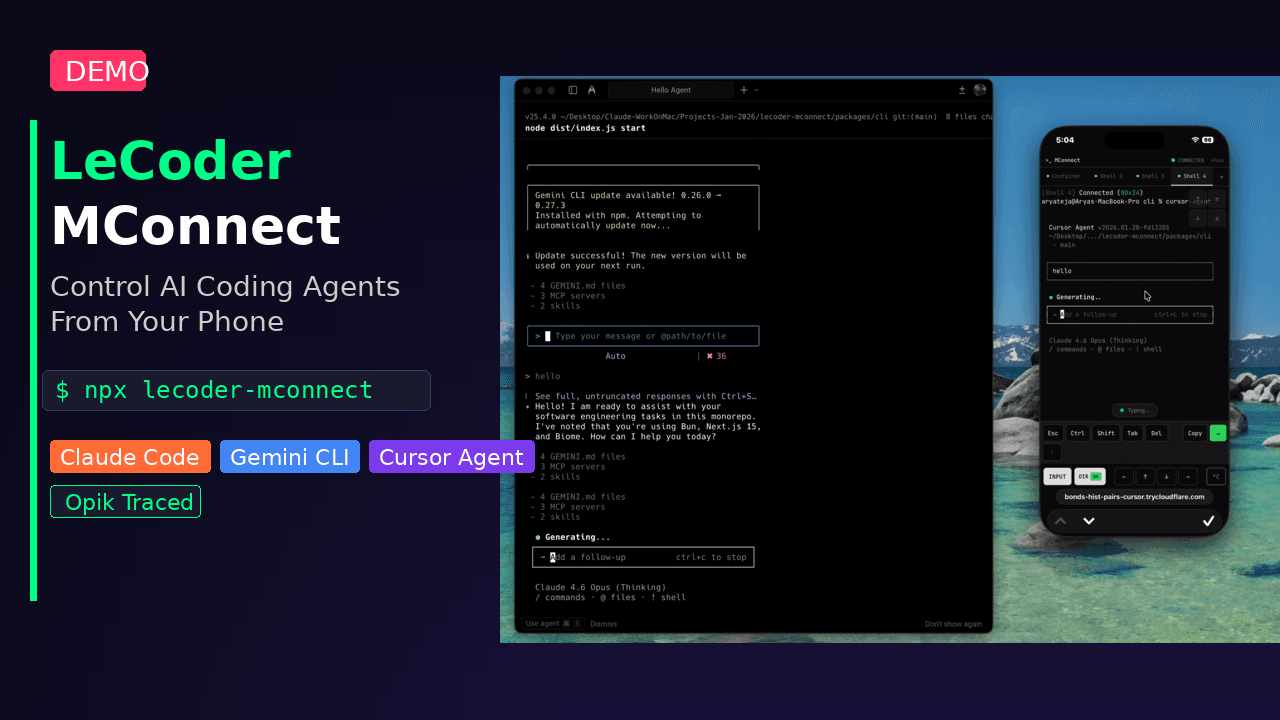
Implementation brief
AI coding agents are useful because they can keep working through a plan, run tests, and wait for decisions. The problem is that the decision often arrives when you are no longer at the laptop. A package install needs approval. A destructive command is blocked. A test fails and the agent needs a new instruction.
MConnect keeps the agent on your computer and turns your phone into a control surface for that terminal. This guide explains why that model matters, when to use it, how the parts fit together, and how to get a working session without guessing.
Short version: run
npx lecoder-mconnect, choose a preset and guardrail level, scan the QR code, and test a shell session before trusting it with a real project.
Terminal agents such as Claude Code, Gemini CLI, Cursor Agent, and Codex can run for much longer than a normal command. They also use interactive terminal interfaces, so a basic webpage that only sends and receives plain text is not enough. The remote side must preserve terminal behavior, stream output in real time, and send your keystrokes back to the same process.
MConnect solves that specific problem. It runs beside the coding agent on your computer, manages the terminal process, and gives your phone a live interface to it. It is not a cloud development environment and it does not move your repository into a hosted workspace.
Use this guide if one of these situations sounds familiar:
This guide assumes you are comfortable opening a terminal and copying commands. You do not need to understand WebSockets, pseudo-terminals, or Cloudflare Tunnel before starting. Those pieces are explained below.
Start a migration, refactor, or test run on your computer. Keep the session visible on your phone so you can respond when the agent reaches a decision point.
MConnect includes guardrail levels. A risky command can be blocked or held for approval instead of running immediately. This is useful when the agent can install packages, publish artifacts, push Git history, or delete files.
The project supports terminal-based tools including Claude Code, Gemini CLI, Cursor Agent, Codex, Aider, OpenCode, and ordinary shell sessions. The exact interface differs by tool, but the transport is the same: if it runs in a terminal, MConnect can wrap the session.
A phone view makes it easier to demonstrate an agent workflow while the actual code and process remain on the development machine.
The architecture is easier to understand as four layers:
Phone browser or native iOS app
              |
              | QR pairing + WebSocket connection
              v
      Cloudflare Tunnel
              |
              v
 MConnect server on your computer
              |
              | pseudo-terminal sessions
              v
Claude Code / Gemini CLI / Cursor / Codex / shellnode-pty creates a real terminal process, preserving colors, cursor movement, prompts, and interactive controls.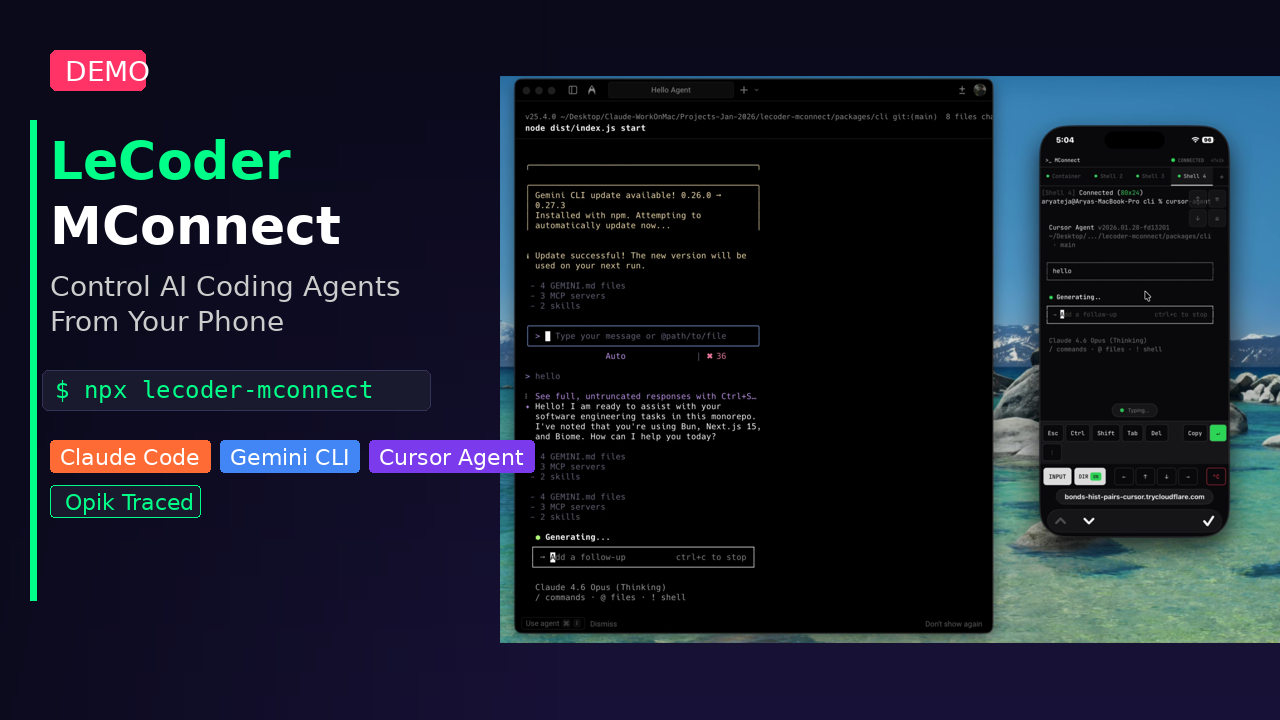 The project demo shows MConnect on a Mac with Claude Code, Gemini CLI, and Cursor Agent available from a phone.
The public repository lists these prerequisites:
node-ptybuild-essential on Linuxcloudflared for remote accessCheck what is already installed:
node --version
python3 --version
cloudflared --version
On macOS, install the build tools and Cloudflare Tunnel client with:
xcode-select --install
brew install cloudflared
On Debian or Ubuntu, install the native build requirements with:
sudo apt update
sudo apt install -y build-essential python3
Use Cloudflare's official installation instructions for cloudflared on Linux because the package source differs by distribution.
Before opening a real project, ask MConnect to check the local requirements:
npx lecoder-mconnect doctorThe diagnostic command checks the Node.js environment, node-pty, Docker availability, cloudflared, and tmux. Docker and tmux are optional for the basic path, so read each result instead of assuming every optional component must be green.
Fix missing prerequisites now. It is much easier than debugging a half-open mobile session later.
Move into a low-risk test directory, then start MConnect:
mkdir -p ~/mconnect-test
cd ~/mconnect-test
npx lecoder-mconnect
The first run opens an interactive wizard. For the safest first test:
Starting with a plain shell proves the connection before a coding agent receives access to a real repository.
When startup completes, MConnect displays a QR code and pairing information.
The current tunnel URL is temporary. When the MConnect process stops, that session URL should no longer be treated as valid. Do not post the pairing URL or QR code publicly while a session is active.
Do not jump directly to a production repository. Run a harmless command from the phone first:
printf 'mconnect is connected\n'
pwd
A successful first test has four observable results:
If any of these fail, stop and use the troubleshooting section before launching an agent.
Once the interactive flow works, you can skip the wizard for a shell-only session:
npx lecoder-mconnect start --preset shell-only --guardrails defaultYou can also install the command globally:
npm install -g lecoder-mconnect
mconnect doctor
mconnect presets
mconnect start --preset shell-only --guardrails default
The global install is optional. Use npx if you prefer not to keep another global package installed.
After the shell test passes, stop the session, move into the repository you actually want to work on, and run MConnect again:
cd /path/to/your/project
npx lecoder-mconnect
Choose the agent preset you want in the wizard. The project documentation lists tested TUI support for Claude Code, Gemini CLI, and Cursor Agent, with Codex and Aider supported through shell mode.
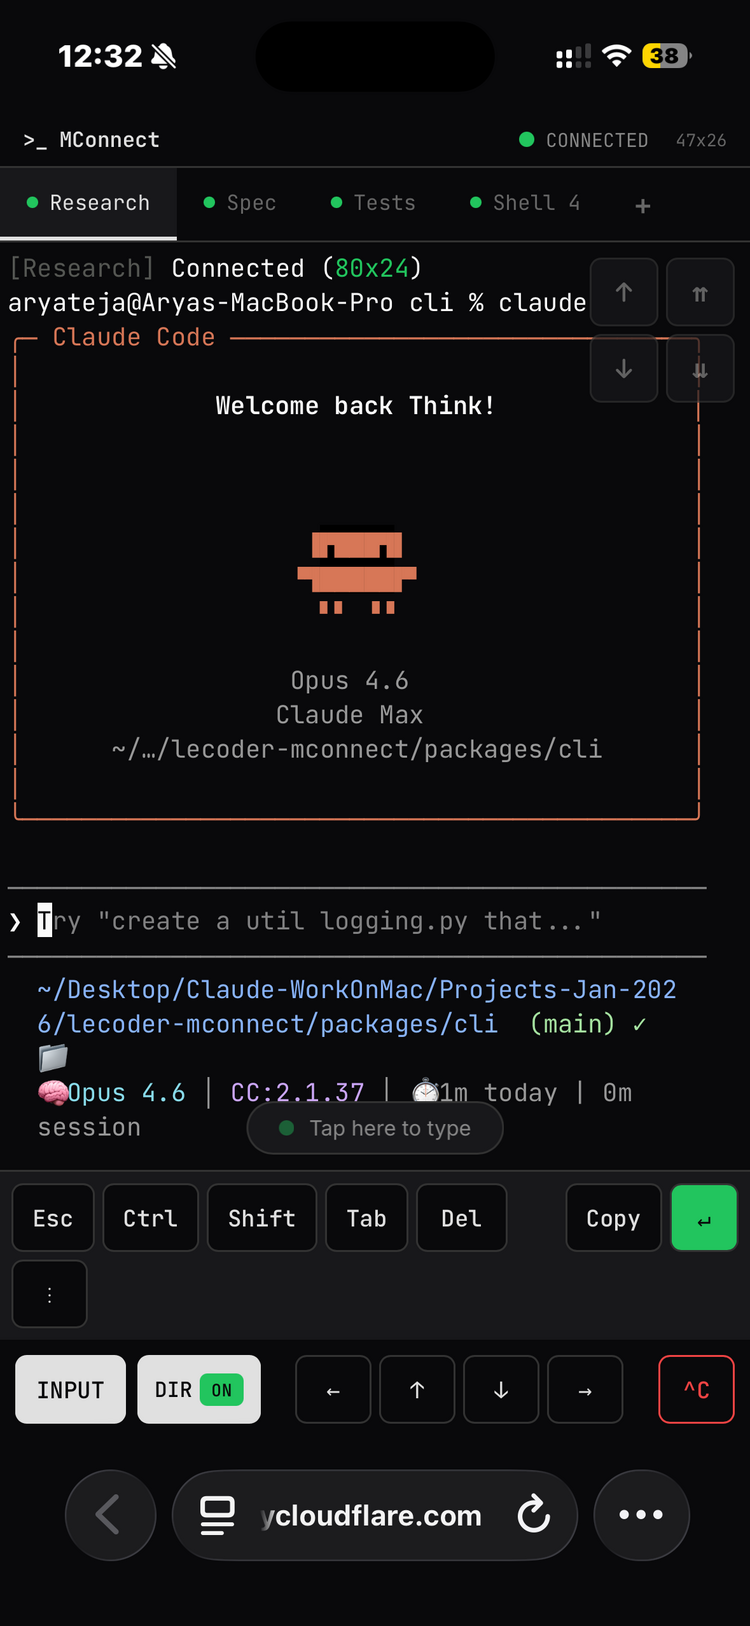 Claude Code in the MConnect phone interface. Screenshot from the public MConnect repository.
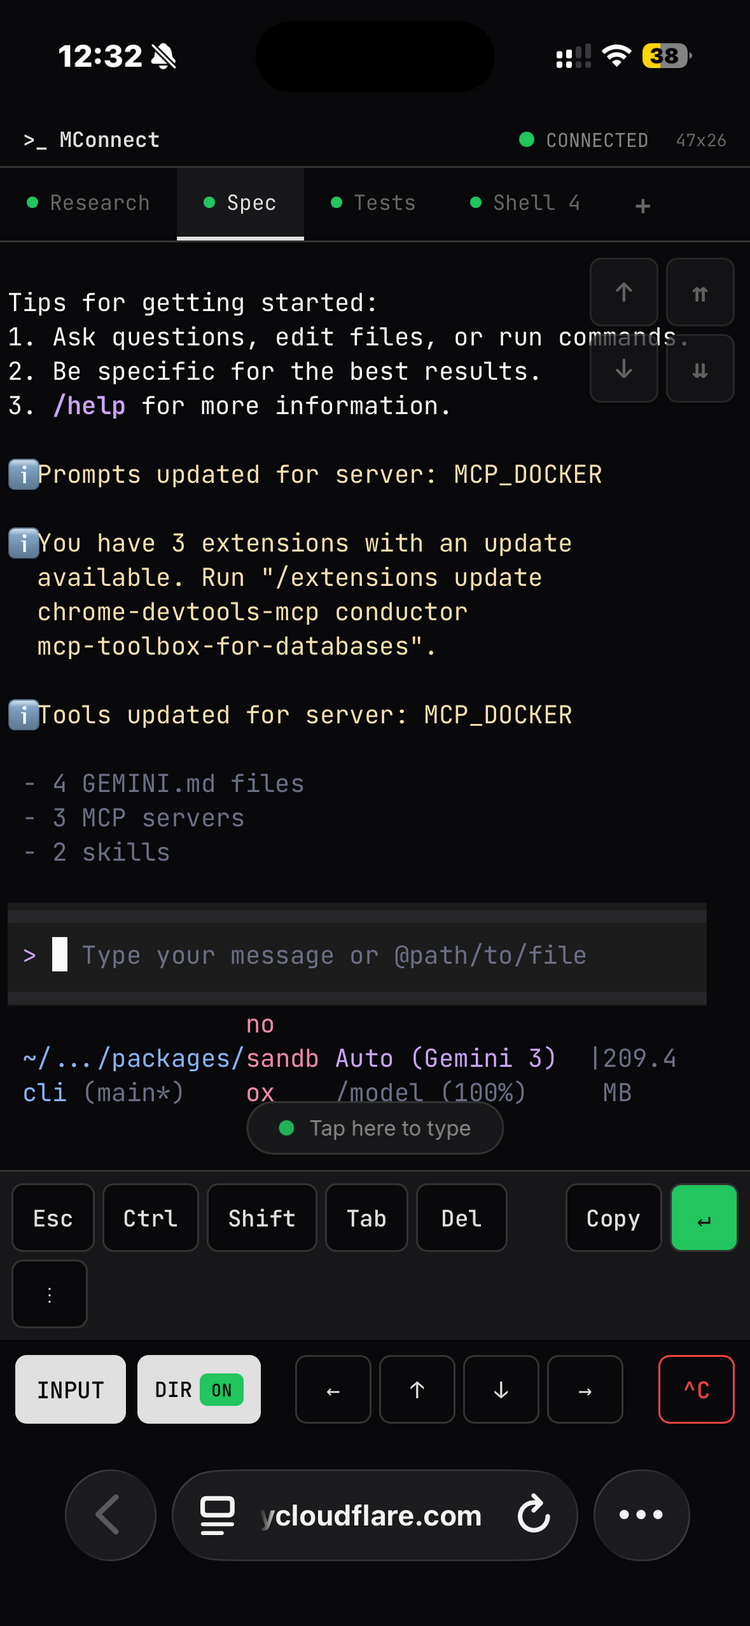 Gemini CLI in the MConnect phone interface. Screenshot from the public MConnect repository.
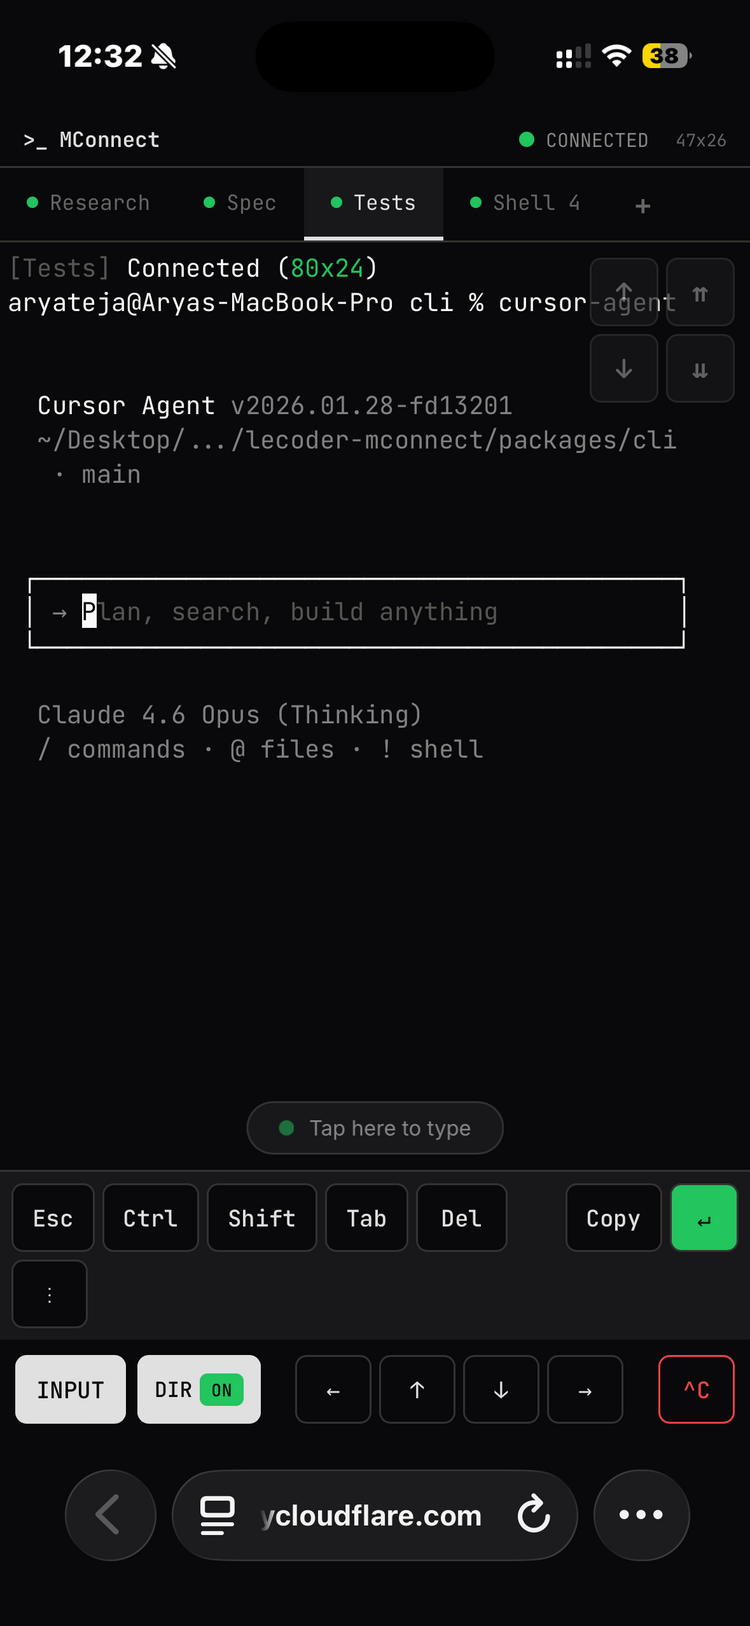 Cursor Agent in the MConnect phone interface. Screenshot from the public MConnect repository.
Guardrails are not a replacement for backups, Git review, or least-privilege credentials. They are an additional decision layer between an agent and the shell.
| Level | Automatically blocks | Requires approval | Best fit |
|---|---|---|---|
| Default | Catastrophic commands such as rm -rf / and fork bombs | Force push and npm publish | Normal development |
| Strict | Destructive operations | Any rm and all git push commands | Sensitive repositories or supervised demos |
| Permissive | Catastrophic commands | Force push | Experienced users in disposable environments |
| None | Nothing | Nothing | Isolated experiments only |
Start with Default. Move to Strict when the repository, credentials, or deployment access makes a mistake expensive. Avoid None unless the session runs inside a disposable container with no valuable credentials.
mconnect                 # Start the interactive wizard
mconnect start           # Same as the default command
mconnect doctor          # Check local dependencies
mconnect presets         # List available agent presets
mconnect start --preset shell-only --guardrails default
Common options from the public CLI documentation:
| Option | Purpose |
|---|---|
--dir <path> | Set the working directory |
--preset <name> | Skip preset selection |
--guardrails <level> | Skip guardrail selection |
--port <number> | Change the local server port from 8765 |
--no-tmux | Disable tmux visualization |
--code | Show the pairing code for desktop use |
MConnect can run agents inside Docker when you want another boundary between the agent and the host machine. First confirm Docker is running:
docker psThen start MConnect and choose the Container Dev preset. The repository documents support for standard .devcontainer/devcontainer.json files, so an existing development-container configuration can be reused.
Container isolation is useful, but it does not make a dangerous workflow automatically safe. Review mounted directories, environment variables, Docker socket access, and network permissions before giving the agent broad control.
node-pty fails to buildOn macOS, confirm Xcode Command Line Tools are installed:
xcode-select --installOn Debian or Ubuntu:
sudo apt install -y build-essential python3If you cloned the repository for development, reinstall dependencies and rebuild node-pty from the repository root:
npm install
npm rebuild node-ptyCheck that cloudflared is available:
cloudflared --versionOn macOS, reinstall it with:
brew install cloudflaredThen run diagnostics again:
npx lecoder-mconnect doctorReturn to the computer and check whether the MConnect process is still running. Then verify that the selected session started successfully and retry with the shell-only preset. A blank agent TUI is harder to diagnose than a plain shell, which is why the guide starts there.
Stop the session and restart from the intended repository, or pass the directory explicitly after a global install:
mconnect --dir /path/to/your/projectNever rely on memory when the agent has write access. Confirm the path with pwd before approving changes.
The public project documentation describes MConnect as local-first: the terminal and repository remain on your computer, while the tunnel carries the active session to the phone. It also states that accounts and cloud storage are not required for the basic flow.
That does not mean there are no external services or risks:
For sensitive work, use a dedicated development account or container, keep credentials scoped, choose strict guardrails, and stop the session when you are finished.
MConnect does not replace an engineer or make an autonomous agent safe by default. It solves a narrower operational problem: you can see the work, respond to a blocked decision, and keep the execution on a machine you control.
That makes it useful for supervised prototypes, internal tooling, demos, and long-running development tasks. It is less suitable for unattended production operations, customer-data workflows without a security review, or any process where a mistaken shell command can cause irreversible damage.
The source, issue tracker, and latest setup details are in the LeCoder MConnect repository. The package is published as lecoder-mconnect.